Introduction
I’ve always been a curious person, eager to understand how things work.
There’s something so satisfying about taking on a project yourself, especially when it saves you a chunk of change.
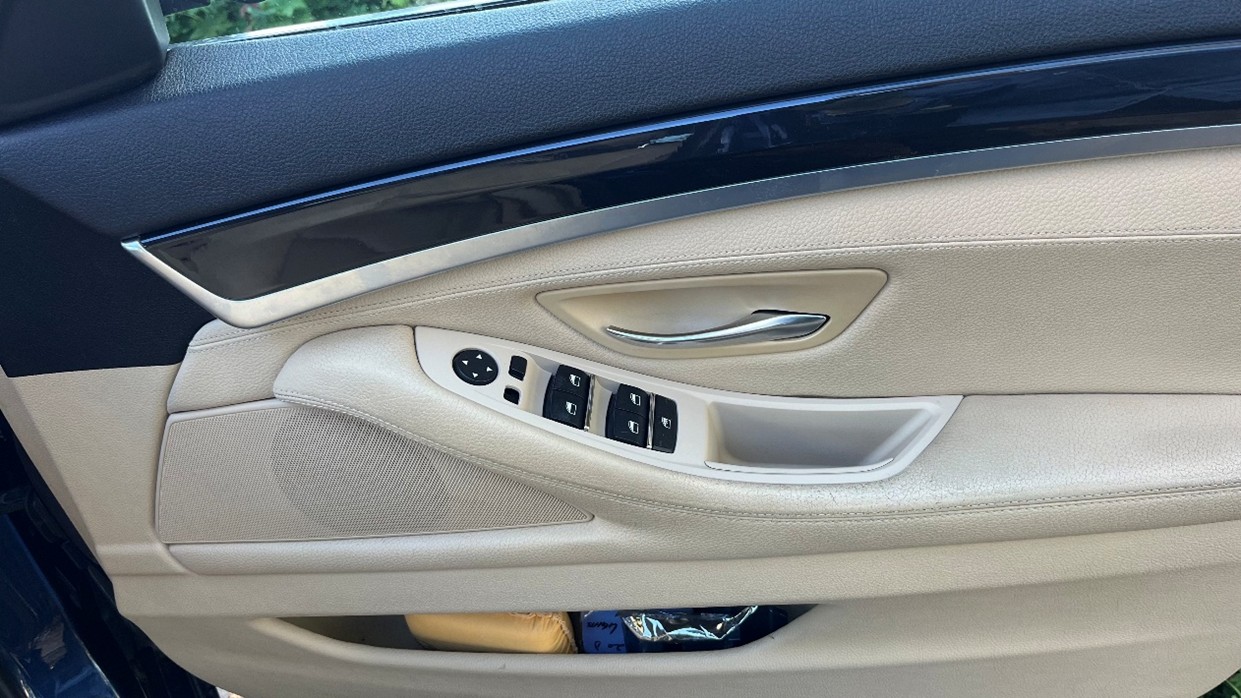
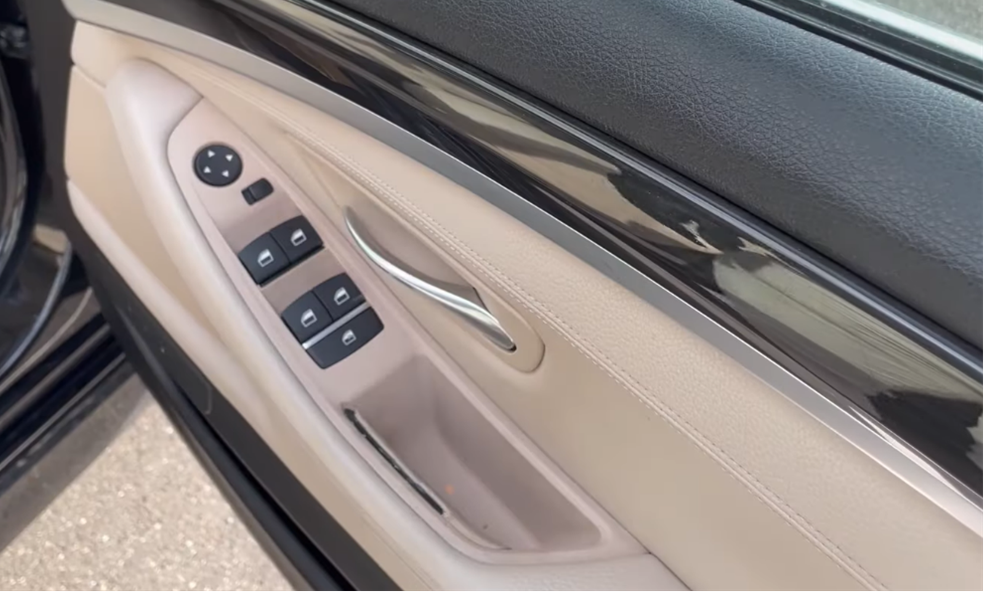
My latest DIY adventure? Replacing the driver’s door pull trim on my right-hand drive BMW520D, affectionately known as “Bluey”.
This little trim, as you can see, had definitely seen better days—sticky, falling apart, and frankly, a bit embarrassing.
So, rather than paying a hefty bill at the workshop, I figured I’d take on the challenge myself. Turns out, replacing a worn door trim on a BMW isn’t as intimidating as it sounds.
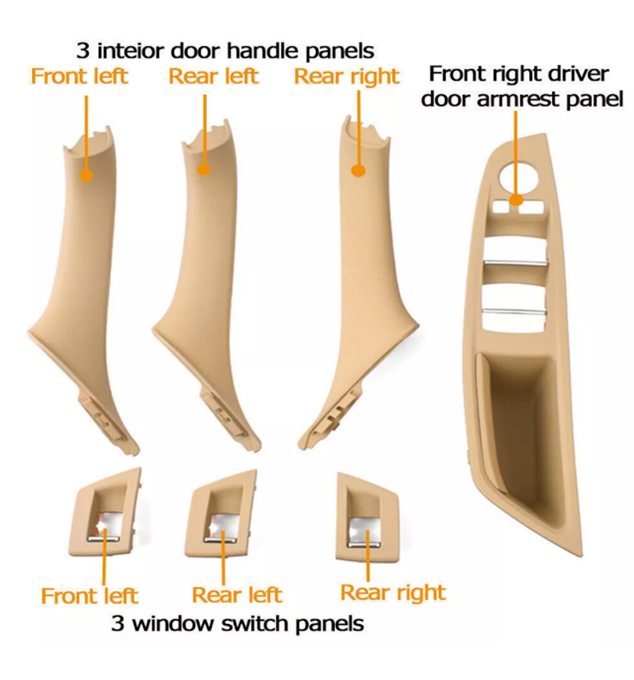
With the right tools (I grabbed a complete kit from eBay) and some patience, the whole process was actually pretty straightforward.
Here’s how I did it.
Step 1: Removing the Door Trim and Screws
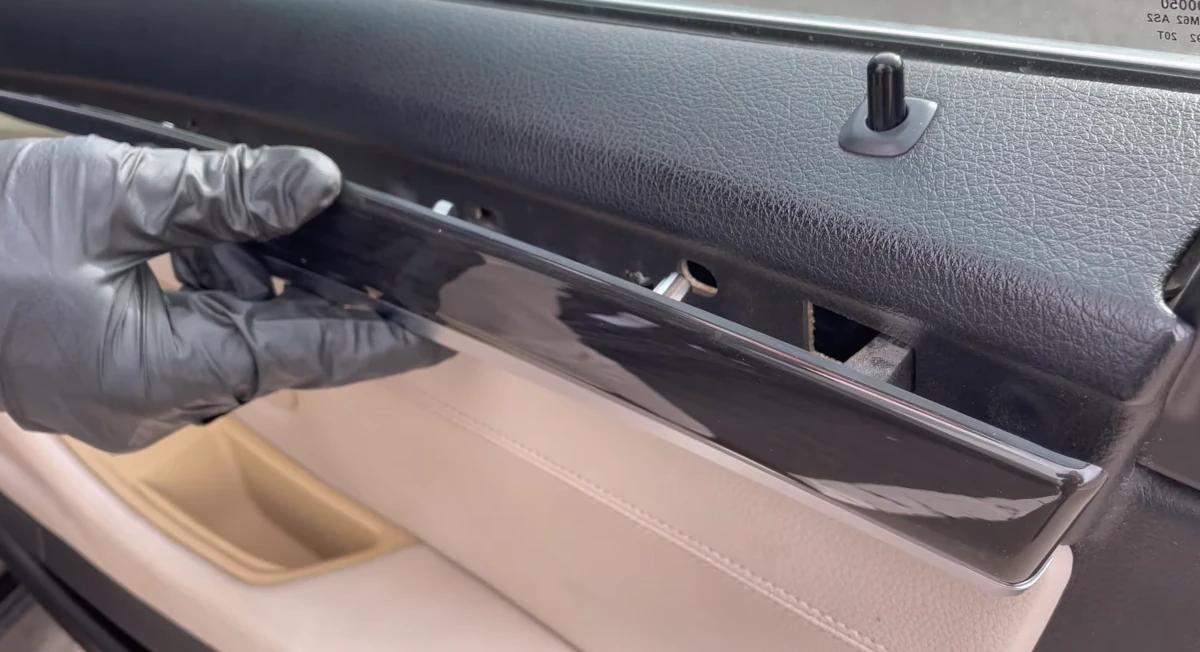
The first task was getting the wood trim piece along the top of the door panel off. I gently pried it from the bottom, working slowly to avoid any damage.
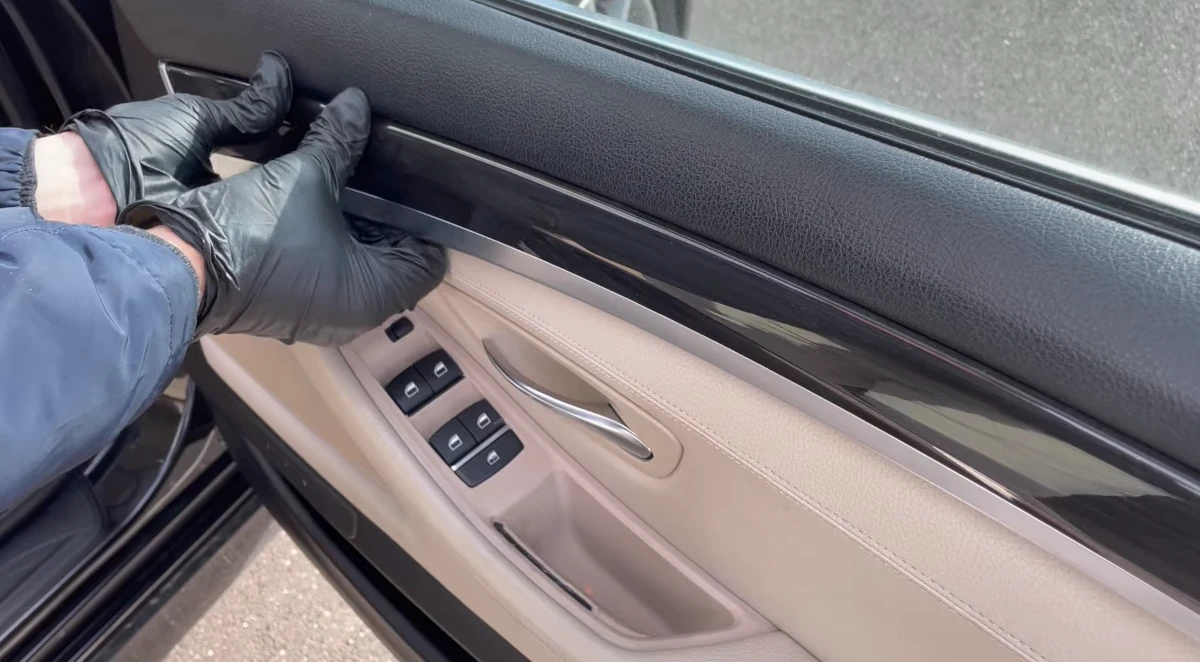
Once it came loose, I slid it forward and set it aside in a safe spot to avoid any accidental scratches.
Next up: the Trox screws that held the old door pull in place. One screw was hidden inside a small hole,
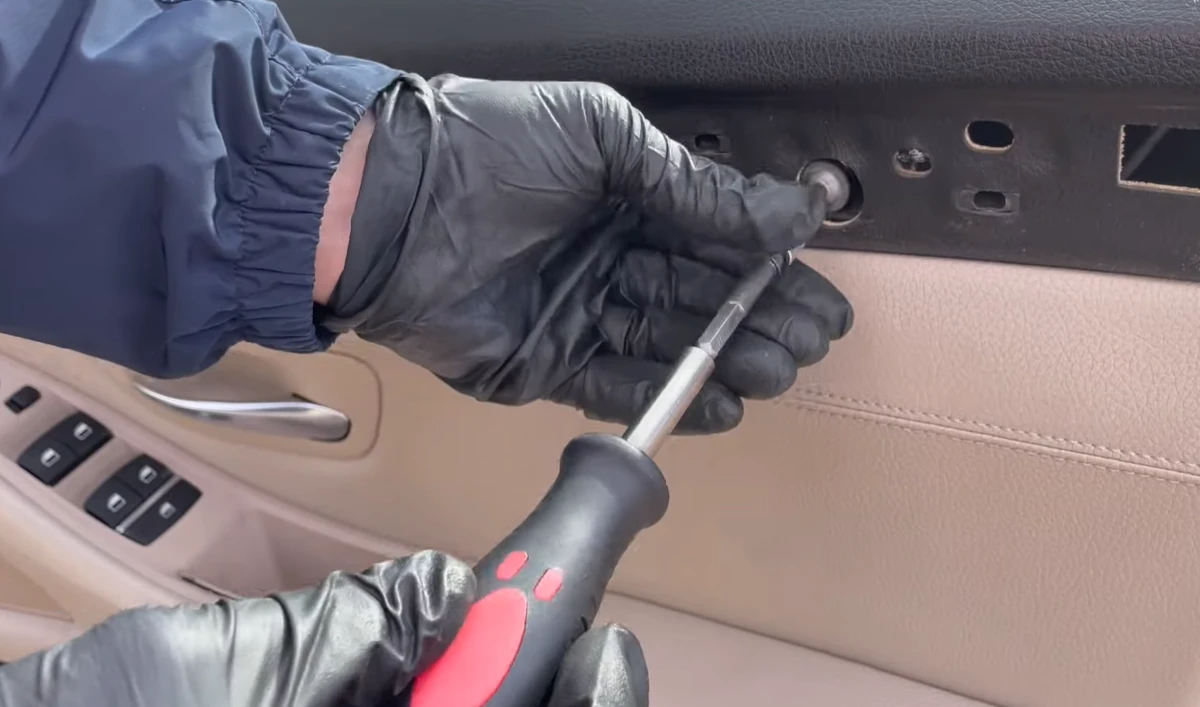
and the other was behind a trim piece.
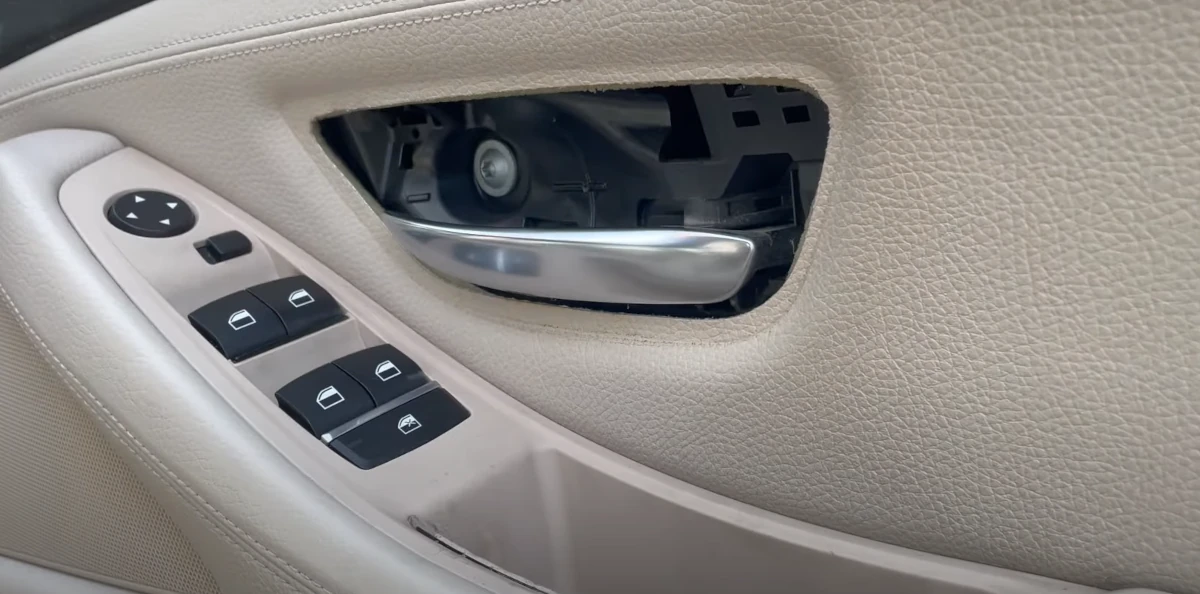
A T30 Trox bit made quick work of them, and I made sure to keep them in a safe spot for reassembly later.
Step 2: Detaching the Door Card
Now that the screws were out, it was time to remove the door card (a fancy name for the main door panel).
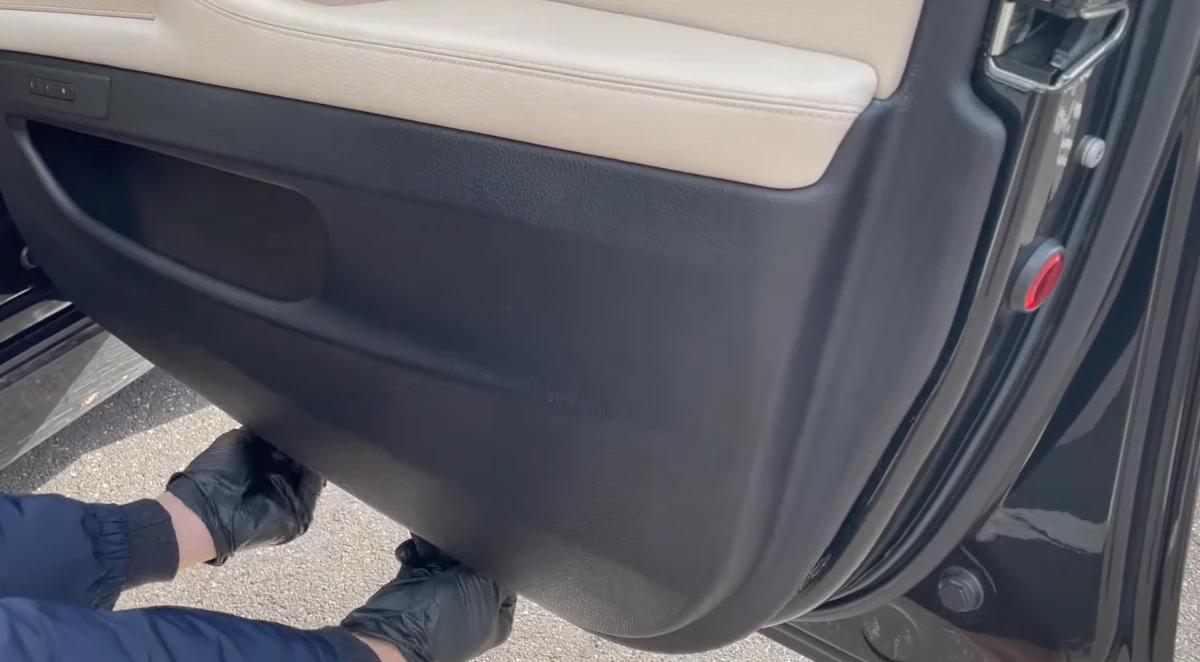
Armed with a trim removal tool, which you can purchase in Amazon, Autodoc.de or tools2udirect.com.
I carefully worked around the edges, popping out the clips that were holding it in place.
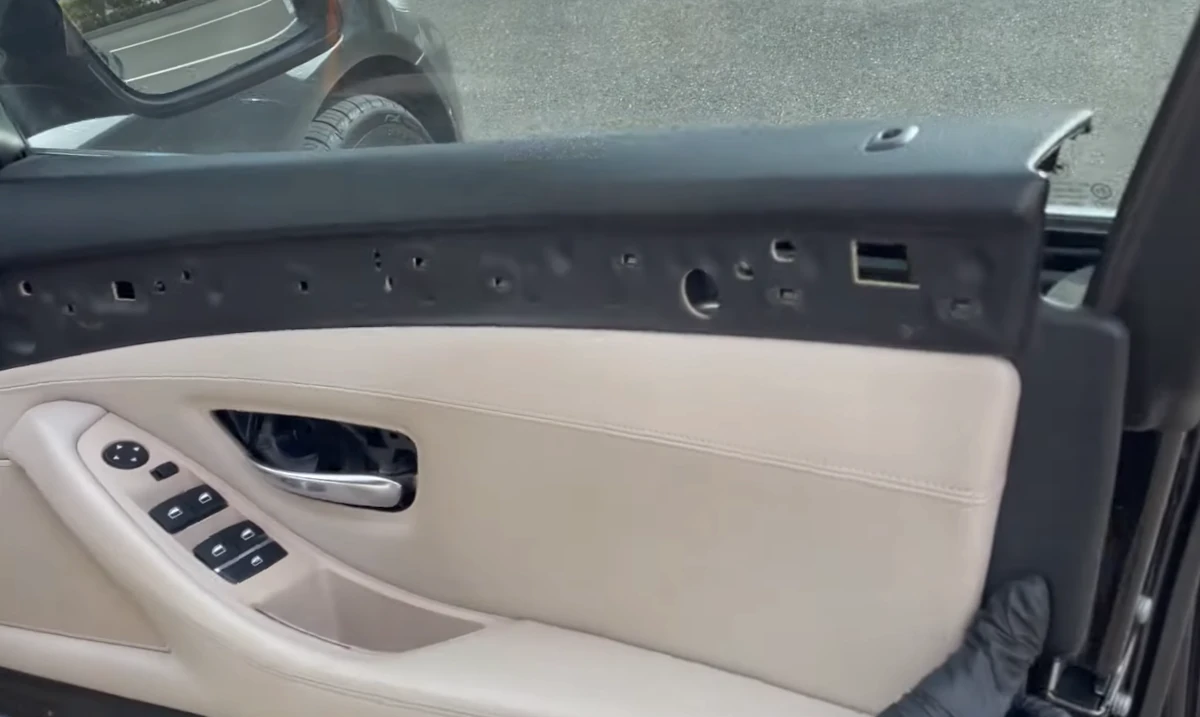
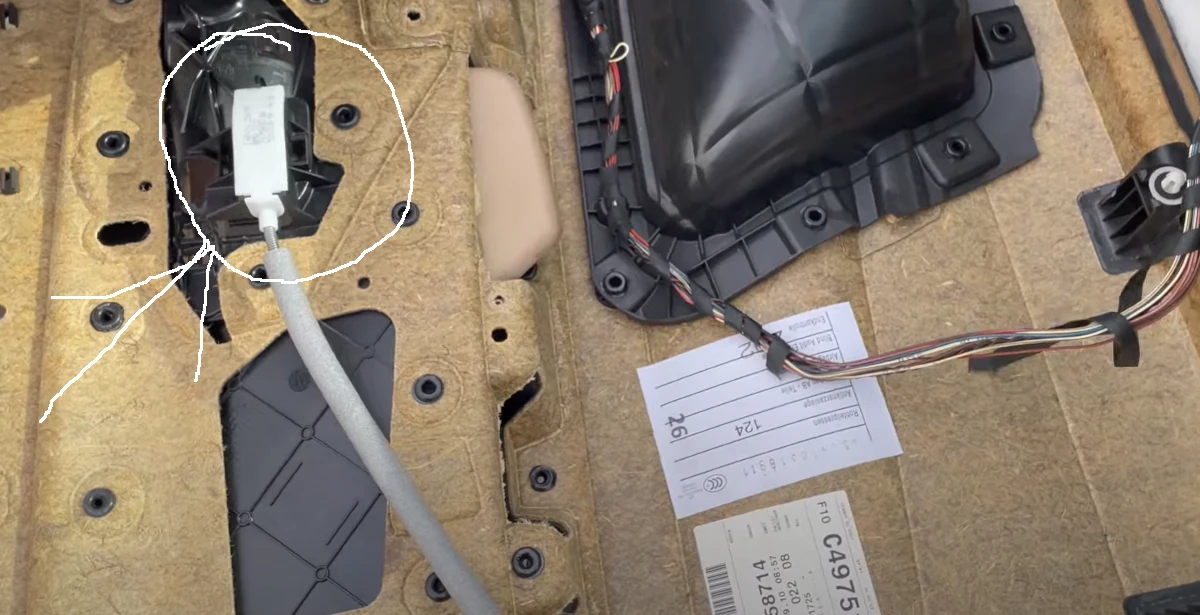
Once the card was free, it came off the frame easily. I kept most of the wiring connected to save time, but I did detach the door handle release cable (circled below) for better access.
Step 3: Removing the Old Door Pull
With the door card out of the way, I could access the old door pull, which was held in place by a few screws. They came off easily, and with a gentle tug, the old trim was history!
Step 4: Assemble the New Door Pull
Now, here’s where things got a little frustrating. As I tried to replace the parts, I realized something had gone wrong—the seller sent me the wrong part. Instead of the right-hand side door panel, I got the left-hand side one.
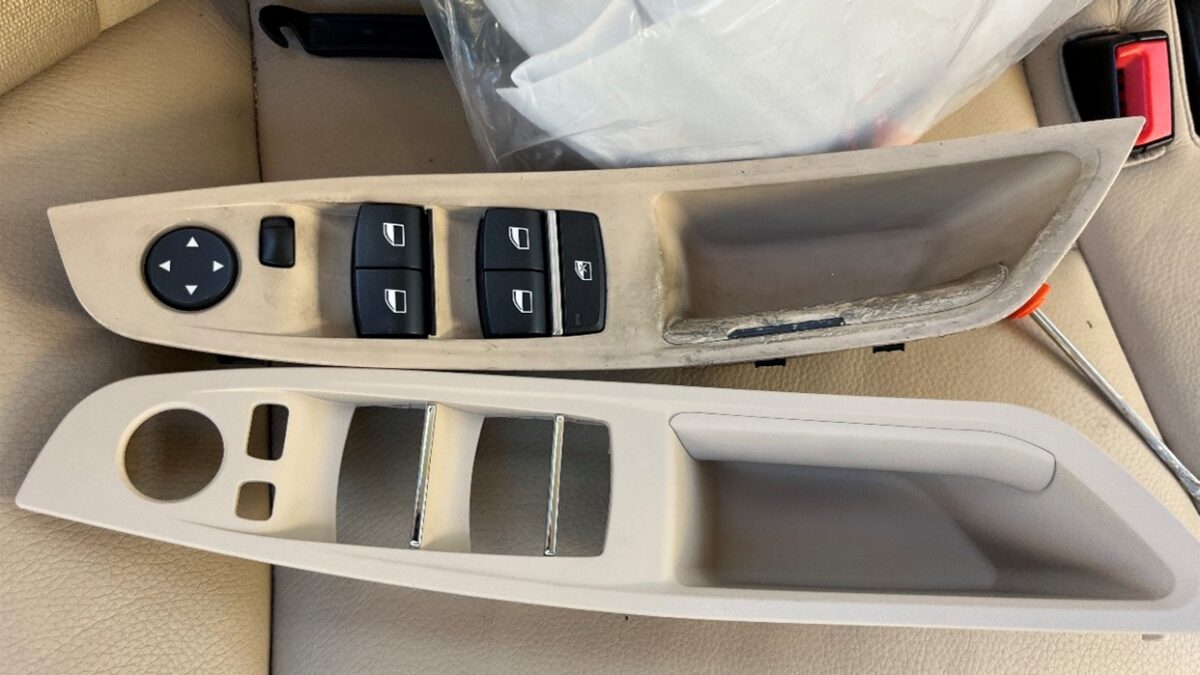
So, I refitted everything, parked Bluey in the garage, and contacted the seller via eBay.
I explained the mix-up, and I have to say, I was super impressed with their customer service.
They assumed, as my order came from Germany, it would’ve been for a LHD car! They apologised for the error, and immediately sent a replacement from their German depot, and—here’s the best part—
it was shipped for free!
Now that is customer service, above and beyond!
The replacement kit arrived three days later, exactly as promised.
But when I opened the box, I noticed something new: the kit had two holes where there shouldn’t have been. Apparently, they’d designed it for newer models with folding wing mirrors, which require a button to control from inside.
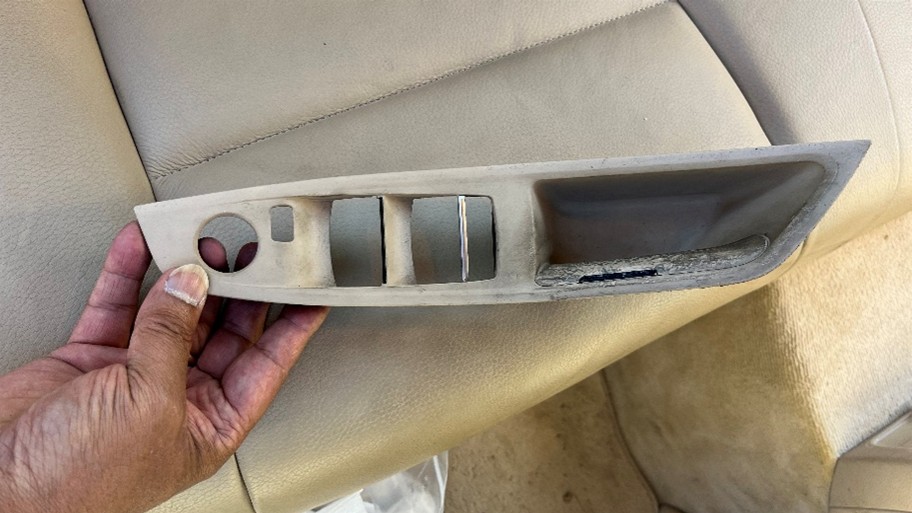
I reached out to the seller again, asking if they sold the extra button separately. Once again, they were incredibly helpful and sent me the button free of charge.
Again, that’s service for you!
Once the button arrived the next day, I was ready to continue.
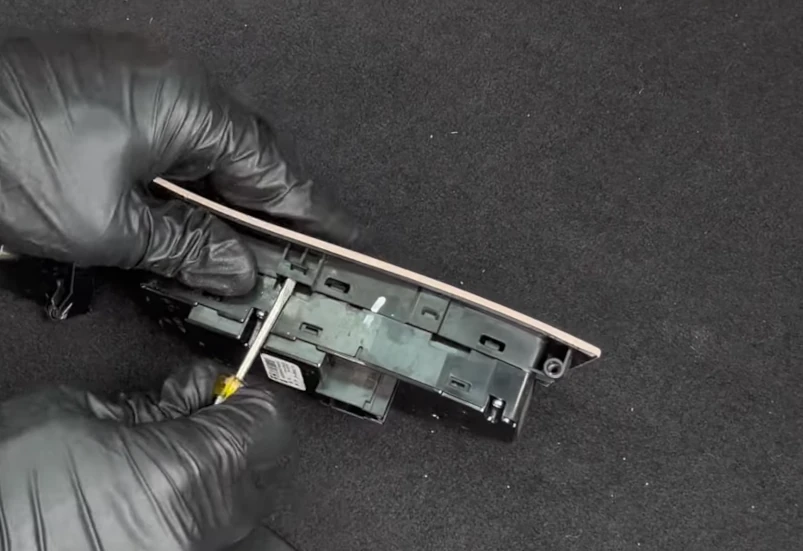
I snapped off the old beige plastic accents around the handle using a small screwdriver, then pressed and popped the new parts into place, ensuring everything clicked together perfectly.
Step 5: Reassembly: Putting It All Back Together
Reassembling the door was surprisingly satisfying. First, I reconnected the window controls, then secured the door pull with the Trox screws—not too tight, just snug.
I aligned the door card back onto the frame, and with a firm press, the clips snapped into place.

The wood trim went back on next. Starting from one end, I gently clipped it back into place along the top edge—no brute force necessary.
I Managed It Myself! How I Replaced My Car’s Door Trim and Saved €€€
Step 6: Replacing the Right-hand Door Grip
Then, I moved on to replacing the right-hand side door grip handle, which had also seen better days.
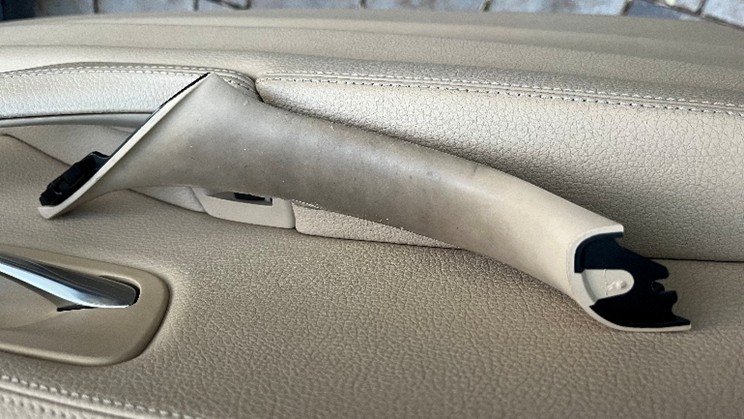
A little nudge with a small screwdriver, and it came off easily.
The new one slipped right into place, and just like that, tada – Bluey’s door was looking as good as new.
Results and Final Thoughts
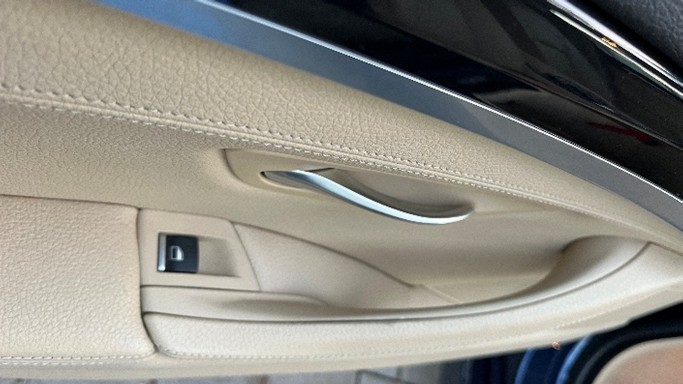
When I stepped back to admire the finished result, I felt pretty proud of myself.
The door now looked brand new—just as good as it did when I first bought Bluey many moons ago.
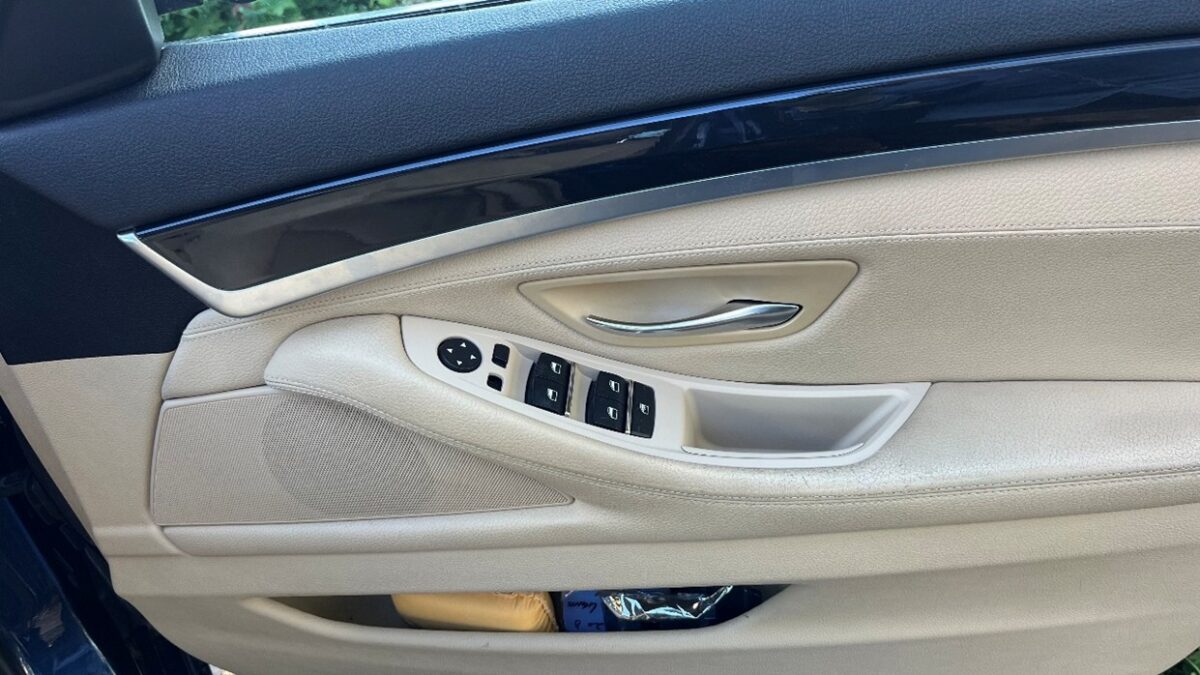
All it took was a little elbow grease, patience, and a couple of hiccups along the way (which, let’s be honest, made the process even more memorable).
Now all that’s left is to clean and treat the leather regularly, and I know Bluey will keep bringing me joy for years to come.

Key Takeaways for Your DIY Journey
- Double-Check Your Order: Make sure the replacement part matches your car’s setup (right-hand or left-hand drive, folding mirrors, etc.).
- Keep Screws Organised: Those tiny Torx screws are easy to lose, but they’re essential for holding everything together.
- Take Your Time: There’s no rush. Patience is key, and trust me, you’ll appreciate it when everything fits just right.
Hope my little DIY story has inspired you to take on your own car project. You’ve got this!
Looking for my next DIY project!
Affiliate Declaration:
The use of affiliate links on this website may result in earning a small commission for any purchases made, at no additional cost to you (the user). Please review our privacy and cookie policy, as well as our affiliate disclaimer.


